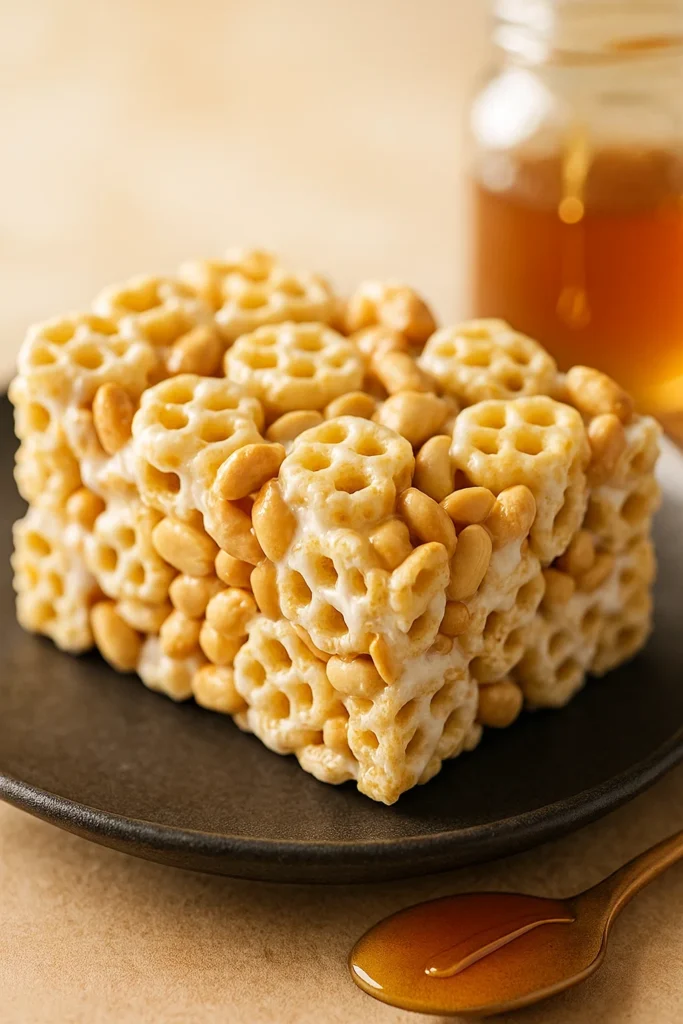
If you’re looking for a quick, crowd-pleasing snack that combines sweetness, crunch, and a hint of nostalgia, Honey Peanut Cereal Bars are the perfect answer. These no-bake bars are made with just a handful of simple ingredients—marshmallows, honey, roasted peanuts, and your favorite honeycomb cereal—yet they deliver a delightful blend of textures and flavors that make them irresistible for kids and adults alike.
Whether you’re packing lunchbox snacks, prepping for a bake sale, or just craving something sweet without turning on the oven, these golden bars will not disappoint.
Ingredients
To make these Honey Peanut Cereal Bars, you’ll need:
-
3 tablespoons unsalted butter
-
1 (10 oz) bag mini marshmallows
-
¼ cup honey
-
5 cups honeycomb cereal (or other honey-flavored cereal)
-
1 cup roasted peanuts (salted or unsalted, your choice)
-
½ teaspoon vanilla extract (optional)
-
Pinch of salt (optional, especially if using unsalted peanuts)
Kitchen Tools You’ll Need
-
Large saucepan or nonstick pot
-
Rubber spatula or wooden spoon
-
9×9 or 8×8 inch baking pan
-
Parchment paper or nonstick spray
-
Measuring cups and spoons
How to Make Honey Peanut Cereal Bars (Step-by-Step)
Step 1: Prep the Pan
Line your square baking pan with parchment paper or lightly grease it with nonstick spray. This makes removing the bars clean and easy once they set.
Step 2: Melt the Butter and Marshmallows
In a large saucepan over medium-low heat, melt the butter. Add in the mini marshmallows and stir continuously until they’re fully melted and smooth. Stir in the honey and vanilla extract, mixing until fully incorporated.
Step 3: Mix in the Cereal and Peanuts
Remove the pot from heat. Gently fold in the honeycomb cereal and roasted peanuts using a rubber spatula. Stir until everything is evenly coated in the warm marshmallow mixture.
Step 4: Transfer and Press
Transfer the mixture into the prepared pan. Use a spatula or wax paper to firmly press the mixture down into an even layer. Press gently but firmly to make sure everything sticks together without crushing the cereal.
Step 5: Cool and Set
Let the bars cool at room temperature for at least 1 hour, or place in the fridge for 30 minutes if you’re in a hurry. Once fully set, lift the mixture out of the pan and cut into squares or rectangles.
Helpful Tips & Tricks
-
Add Texture: Want a more indulgent twist? Try adding a handful of mini chocolate chips or white chocolate chunks once the mixture has cooled slightly (so they don’t melt).
-
Make it Nut-Free: Substitute sunflower seeds or crunchy granola for peanuts if serving to someone with a peanut allergy.
-
Cereal Options: Honeycomb is perfect, but other cereals like Cheerios, Corn Pops, or puffed rice can work too—just make sure it pairs well with honey and marshmallow.
-
Storage: Store bars in an airtight container at room temperature for up to 5 days, or refrigerate for a chewier texture. These also freeze well!
Nutritional Information (Approximate Per Bar – Makes 12 Bars)
-
Calories: 180
-
Carbohydrates: 28g
-
Sugar: 15g
-
Protein: 4g
-
Fat: 7g
-
Fiber: 1g
-
Sodium: 70mg
Note: Nutritional values may vary depending on cereal type and peanut variety.
Why You’ll Love These Honey Peanut Cereal Bars
These bars are more than just a treat—they’re a time-saver, a lunchbox hero, and a fun kitchen project for all ages. They’re:
-
No-Bake & Kid-Friendly: No oven required, perfect for summer or quick snack prep.
-
Customizable: Add seeds, nuts, or mini candies to suit your taste.
-
Portable: Great for school, work, picnics, or post-workout snacking.
-
Naturally Sweetened: With honey as a primary sweetener, it’s a better-for-you alternative to overly processed snacks.
Perfect Occasions for Honey Peanut Cereal Bars
-
School snack swaps
-
Bake sales and fundraisers
-
Birthday parties
-
After-school treats
-
Road trip or hiking snacks
-
Holiday dessert trays
These bars are so versatile, they’ll quickly become a staple in your homemade treat rotation.
Final Thoughts
Honey Peanut Cereal Bars are a quick, delicious, and nostalgic treat that checks all the boxes: crunchy, gooey, sweet, and satisfying. With only a few pantry staples and no baking required, they’re as easy to make as they are to love.
So go ahead—whip up a batch today and share the joy with family, friends, or coworkers. Just be warned: they might disappear faster than you expect!
FAQ – Honey Peanut Cereal Bars
Q1: Can I use marshmallow fluff instead of mini marshmallows?
Yes! Substitute 1½ cups of marshmallow fluff for the mini marshmallows and reduce the honey slightly to prevent them from becoming too sticky.
Q2: Are these gluten-free?
If you use certified gluten-free cereal and marshmallows, yes! Always check the labels to confirm.
Q3: Can I make this ahead of time?
Absolutely. Make them 1–2 days in advance and store in an airtight container.
Q4: Can I freeze Honey Peanut Cereal Bars?
Yes, wrap individual bars in plastic wrap and store in a freezer bag for up to 1 month. Let them thaw at room temperature before eating.
Q5: What can I use instead of honey?
You can substitute light corn syrup or maple syrup, though it will slightly change the flavor and stickiness.


