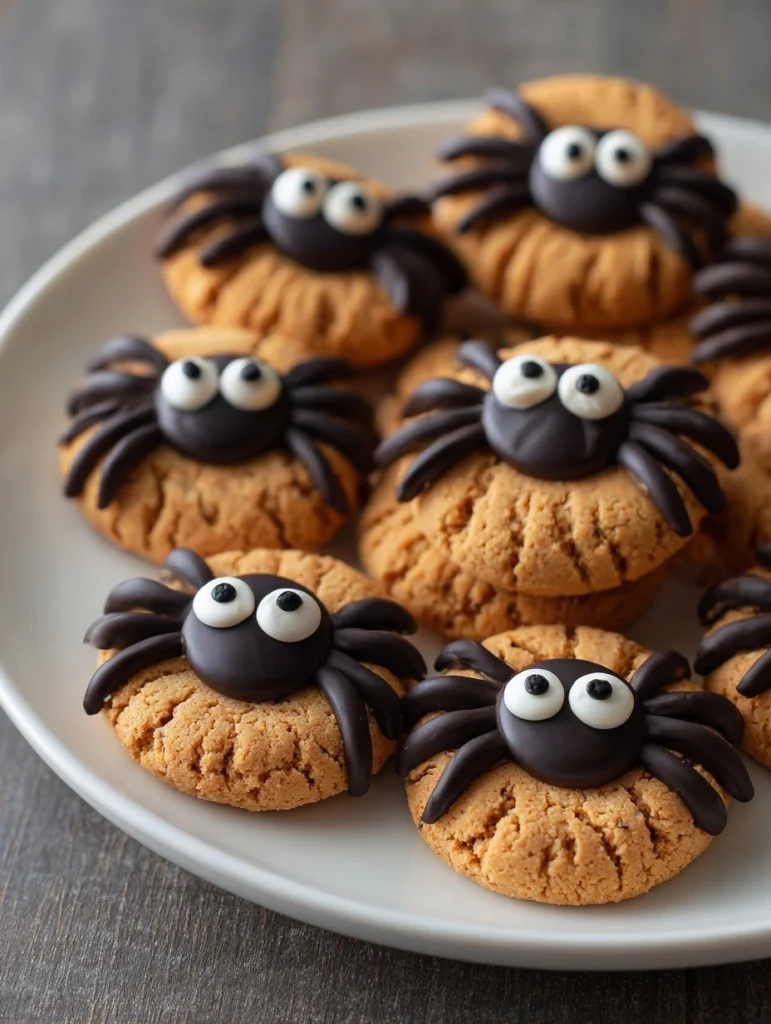
Looking for a Halloween dessert that’s equal parts adorable and delicious? These Easy Peanut Butter Spider Cookies combine soft, chewy peanut butter bases with chocolate “spider bodies” and candy eyes. They come together quickly, require simple pantry ingredients, and make any October table instantly festive.
Why You’ll Love This Recipe
-
Beginner-Friendly: No fancy decorating skills required—just assemble while the cookies are warm.
-
Crowd-Pleasing Flavor: Classic peanut butter cookie meets chocolate candy.
-
Make-Ahead Friendly: Bake the cookies a day in advance and decorate before serving.
-
Perfect Party Treat: This Halloween dessert doubles as an activity—kids can help build the spiders.
Ingredients
Peanut Butter Cookies
-
½ cup creamy peanut butter (not natural “stir” style)
-
¼ cup unsalted butter, softened
-
½ cup packed light brown sugar
-
¼ cup granulated sugar (plus extra for rolling)
-
1 large egg, room temperature
-
1 teaspoon pure vanilla extract
-
1 cup all-purpose flour (spooned and leveled)
-
½ teaspoon baking soda
-
¼ teaspoon baking powder
-
¼ teaspoon fine salt
Spider Decoration
-
12 chocolate truffle candies or peanut butter cups (mini size) – bodies
-
24 candy eyes (two per cookie)
-
¼ cup semisweet chocolate chips (for “glue” and legs)
-
Optional: 1 teaspoon coconut oil (to thin melted chocolate)
Yields about 12 cookies.
Required Kitchen Tools
-
Mixing bowls (one large, one small)
-
Hand mixer or stand mixer
-
Spatula
-
Measuring cups/spoons
-
Baking sheet lined with parchment
-
Wire cooling rack
-
Small microwave-safe bowl or double boiler
-
Piping bag or zip-top bag (snip a tiny corner)
Step-by-Step Instructions
1. Preheat & Prep
Preheat oven to 350°F (175°C). Line a baking sheet with parchment paper. Unwrap chocolate truffles or peanut butter cups so they’re ready.
2. Cream Fats & Sugar
In a large bowl, beat peanut butter, softened butter, brown sugar, and granulated sugar on medium speed until light and fluffy—about 2 minutes. Proper creaming aerates the dough for a tender crumb.
3. Add Egg & Vanilla
Mix in the egg and vanilla until fully incorporated. Scrape down the bowl to ensure even texture.
4. Combine Dry Ingredients
In a separate bowl, whisk flour, baking soda, baking powder, and salt. Add dry mixture to the wet ingredients. Beat on low just until no flour streaks remain. Overmixing toughens cookies.
5. Shape & Coat
Scoop dough into 1½ tablespoon portions (a small cookie scoop works well). Roll each into a ball, then lightly roll in extra granulated sugar for a subtle sparkle and crisp edge. Arrange balls 2 inches apart on the prepared baking sheet.
6. Bake
Bake 9–11 minutes until edges are set and tops look slightly cracked but centers are soft. Do not overbake; cookies firm as they cool.
7. Create Indentations
Immediately after removing the tray from the oven, gently press the center of each cookie with the back of a teaspoon or your thumb to create a shallow well. This helps “seat” the spider body.
8. Attach Spider Bodies
Press one chocolate truffle or mini peanut butter cup (wide side down for truffles; narrow side down for cups) into each warm indentation. Let cookies cool on the sheet 5 minutes, then transfer to a wire rack.
9. Melt Chocolate
In a microwave-safe bowl, melt chocolate chips (and coconut oil if using) in 20‑second bursts, stirring until smooth. Transfer to a small piping bag or zip-top bag.
10. Add Legs & Eyes
Pipe 4 small lines on each side of the candy to form 8 legs. Place a tiny dot of melted chocolate on the back of each candy eye and gently press onto the candy “head.” If using round truffles, add eyes near the front edge; for peanut butter cups, put them on the side.
11. Set & Serve
Allow chocolate to set at room temperature or chill briefly. Serve your creepy-cute Halloween dessert and enjoy!
Helpful Tips for Success
-
Choose the Right Peanut Butter: Standard creamy peanut butter (like Jif or Skippy) yields consistent structure. Natural varieties can cause spreading or dry texture.
-
Chill if Needed: If your kitchen is warm and dough seems soft, chill 15 minutes before rolling to prevent excessive spreading.
-
Uniform Size: Evenly portioned dough ensures all cookies bake at the same rate—important for perfect texture when pressing in candy.
-
Work Quickly: Press candies into cookies while they’re still warm so they adhere. If cookies cool too much, microwave the candy briefly (unwrapped) to soften the base.
-
Clean Piping: For defined legs, snip only a tiny corner of your bag. Too large an opening makes thick, messy legs.
-
Alternative Bodies: Use malted milk balls, chocolate-covered almonds, or chocolate sandwich cookies cut in half. Adjust eye placement accordingly.
-
Allergy-Friendly Variation: Substitute sunflower seed butter for peanut butter and use dairy-free chocolate plus allergy-safe candy eyes. Texture may be slightly softer.
-
Make Ahead: Bake cookies up to 48 hours before serving and store undecorated in an airtight container. Decorate the day of your event.
-
Storage: Store finished cookies at room temperature for 4–5 days. To stack, let chocolate fully harden and layer with parchment. They also freeze (undecorated) up to 2 months.
Approximate Nutritional Value (Per Cookie)
Estimates based on 12 cookies using truffle candies; values vary by brand.
-
Calories: ~220
-
Fat: 12 g
-
Saturated Fat: 5 g
-
Carbohydrates: 25 g
-
Sugars: 17 g
-
Protein: 4 g
-
Fiber: 1 g
-
Sodium: 140 mg
For a lighter version, use mini dark chocolate disks instead of truffles and reduce the sugar roll.
Conclusion
Celebrate spooky season with a Halloween dessert that’s guaranteed to charm guests: these Easy Peanut Butter Spider Cookies. Soft, salty-sweet peanut butter bases pair perfectly with rich chocolate and playful decorations—no advanced baking skills required. Whip up a batch for classroom parties, office gatherings, or movie night, and watch them disappear faster than a ghost. Save this recipe and start spinning your cookie web today!


